I keep my blog as a personal record of what I'm up to, which might be seen as working towards "An elegant sufficiency, content, retirement, rural quiet, friendship, books, ease and alternate labour, useful life"

I'm certainly not there yet.  There is quite some way to go!

Search


Archive

Entries from January 1, 2015 - January 31, 2015

Monday
Jan122015

and then?


My bleat for help to the Designworks FB group received an almost instantaneous reply from a couple of people, including the genius Adeline.


Fullscreen capture 12012015 123028


What more could I ask?  Thrilled with such a speedy answer – and keen to crack on whilst it was all still in my head – I shot back down into the studio and followed her advice.


Fullscreen capture 12012015 105614


It worked a charm!  I saved and resisted the temptation to try stitching it out there and then, for it was late Sunday evening and probably not the best time to begin.


DSC01589


This morning, I prepared the fabric carefully but couldn’t wait to try it out.  I had some work to do first though, so exercised a little self discipline and completed that before switching my machine on Winking smile


DSC01590


My first attempt wasn’t too bad.  I didn’t hoop the fabric as accurately as I might have done – you can see the cross that’s supposed to be the centre.  But it didn’t matter, because my main interest was to see what happens when by simply stitching it out.  First the outline of the shape was stitched in a running stitch as a placement guide.  I ironed the shape in place then, and watched as the shape was stitched another couple of times.  The next step was the decorative stitch, which covered some of my earlier inaccuracy in placing the shape.


DSC01591


The precision is impressive as is the way in which the stitches are formed consistently.


DSC01592


I quickly lined another one up to reinforce my learning!


DSC01594


So, I need to sort something out about that puckering in the middle, but apart from that (and the poor colour in this last photo, taken in a slightly different place from the others – sorry!) I’m pretty pleased with the results.

Couldn’t have done it without a great deal of support though, for which I’m grateful.  What would we do without online friends?

Monday
Jan122015

One step at a time


Learning new software is always a challenge and unfortunately, the program which accompanies the cutwork tool isn’t the most intuitive.  I mean, “hit the spacebar to select the hexagon” ?  So, it was with as much patience as I could muster that I sat down yesterday afternoon to work my way through a step by step project.


grandmothers-flowere-garden-designworks-feature-315x214px-w-001


Assuming no previous knowledge and taking everything one step at a time, what could be easier?  


Fullscreen capture 11012015 152115-001


All went well, though a couple of occasions required close reference to the manual.  It took a while and I didn’t stray from the prescribed sizes and so on because I just wanted this to work!

And then I came to the bit where it says “Save as Hexagon_Cut. Export to machine and cut.”

Cut what?  How?  I need more advice, because if you recall from my last post, the cutting hadn’t been terribly successful.


mug 2


At this point, I went back to the place where I’d found the original idea – Adeline’s blog.  Adeline has recently begun a FB group for users of the Designworks Program and though there is already a Designworks Yahoo Group which I read regularly, it was this picture on FB which caught my eye.  Thankfully, she had shared a step by step process for cutting the shapes so gathering up my bondaweb, my adhesive stabiliser and a few small bits of fabric, I created a sandwich to put in my embroidery hoop.


DSC01584-001


As soon as I began to sew, I felt more confident that this was going to work.  To begin with, the design had an initial running stitch around it, to hold everything in place before the cutting process began.  Replacing the needle with the cutting tool, I took a deep breath and started the next stage of the process.


DSC01587-001


The result was better this time.  Rather good in fact.  I cut six layers of fabric which seemed to work better than a single one and that line of stitching made all the difference.


DSC01585-001


I was pleased with the result and was ready to move onto the next stage – to create the applique stitching file which would instruct my machine to do the sewing.

That’s when I hit the brick wall.  After an hour or so fiddling about with the program, I simply could not access the part of the menu which I needed.  I tried all kinds of things, read the manual again, searched online, closed the program and restarted, had a cup of tea, said a few choice words but nothing worked.  Then I remembered the FB group and posted a question.  Could anyone help me, I wondered?

I hope so!

Saturday
Jan102015

So far, 70% success


DSC01556


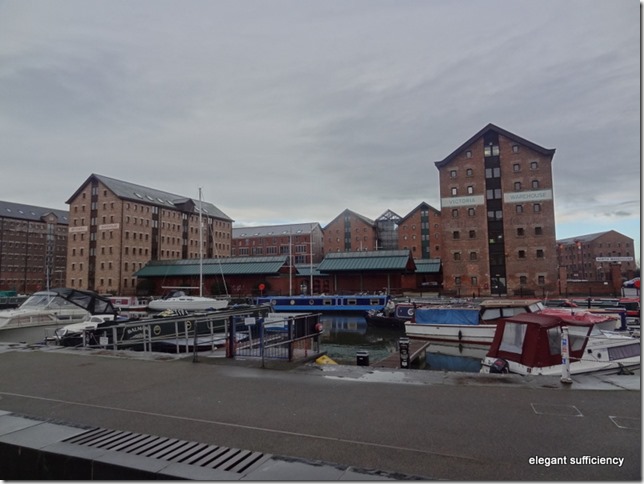
Getting back into the routine here and finding my way to the new location of my office, which involves a longer, draughtier walk through the docks.  In the summer months, this will be delightful, I’m sure, but on a January Thursday?
 

DSC01557


Once I reached the – shall we say, cosy - space in the 1950’s office block which has been allotted to the team I work with, I immediately felt nostalgic for the old warehouse and comfortable workspace.  Austerity continues to manifest itself in all kinds of ways and today I learned that all the desks are being reduced in size (having a bit chopped off one end, I think) so that more will fit into a smaller space.  Not only that, there’s a policy of eight desks per ten people as the “hot desking” concept is encouraged.  Thankfully, I don’t spend much time in the office, but if I did, I imagine I wouldn’t need much persuasion to take my laptop to the cafe across the street.  Thankfully, the people I work with are as delightful as ever and have way more patience and forbearance than I have!
 

DSC01571


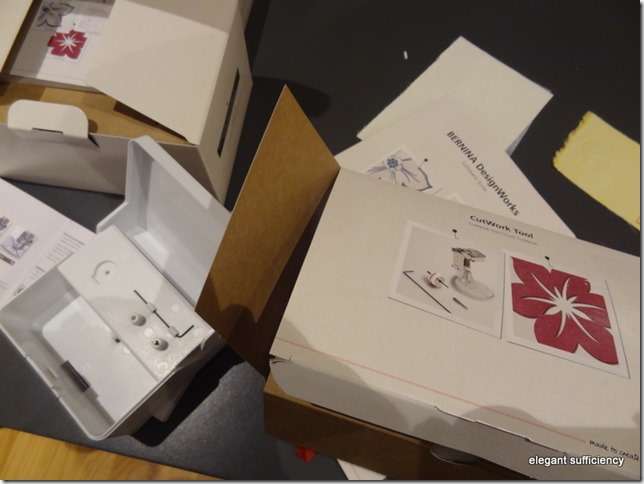
Did I mention that there were a few Bernina goodies amongst my Christmas presents?  This afternoon, I decided to open up the boxes and see what’s what.  I’d installed the new software before we went to Hamburg, thinking that if I left everything ready to roll, then upon my return I’d simply sit down and sew.

Ha.

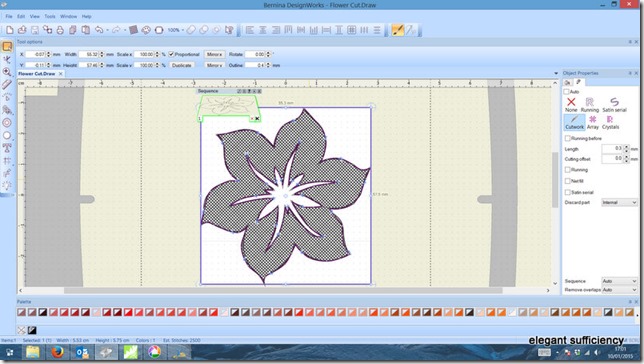
I’d watched the videos, I’ve been following the Yahoo group conversations for some time and I’ve downloaded the workbooks to read.  But you know how it is, when you sit in front of the empty screen it’s really hard to know just where to begin.  It took me most of the afternoon before I’d found a simple project to get me started but eventually I settled on a flower.jpg which was included in the package – the flower on the logo in fact – and I created a file to cut using the cutwork tool following the step by step instructions.
 

Fullscreen capture 10012015 170102


Phew.  So far, so good.  I exported it to my machine and then began the next stage of the learning process – opening the box with the cutwork tool inside, assembling it and preparing my machine for cutting.  Once again, I’d watched videos of what to do, my machine has all kinds of safeguards which ensure that everything is tickety-boo before it will let me do anything and I took my time to make sure I’d got it all in place.
 

DSC01563 


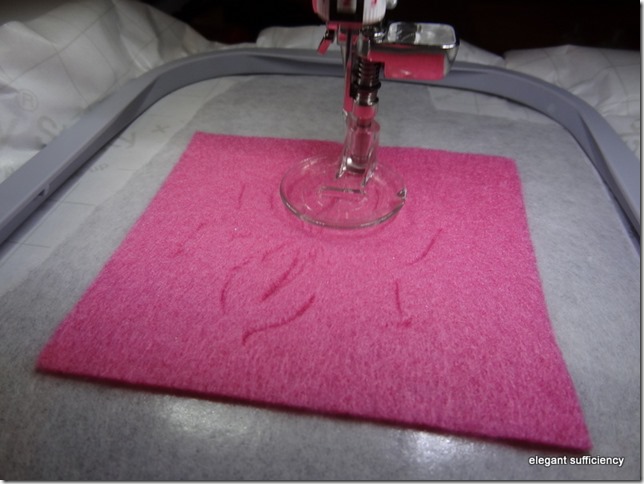
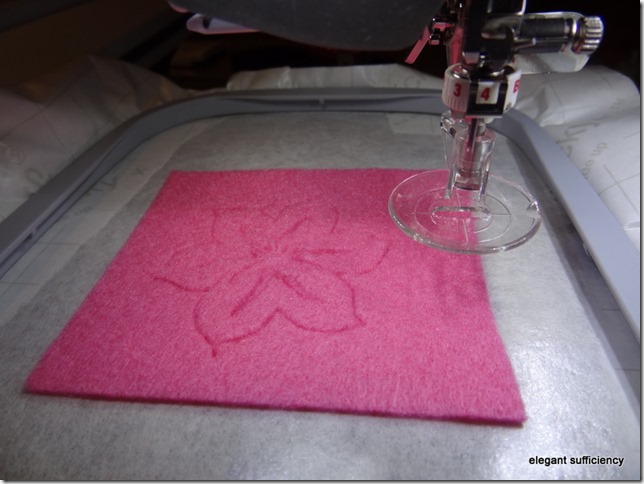
I even chose to use pink felt just like in the video demonstration!  I stuck it down firmly to the adhesive stabliser and took a deep breath before hitting “go”.  The machine sprang into action and quickly worked around the design lines I’d created earlier.
 

DSC01564


In four steps it completed the cut and I couldn’t wait to pop out the cut shape as in the video.
 

DSC01565


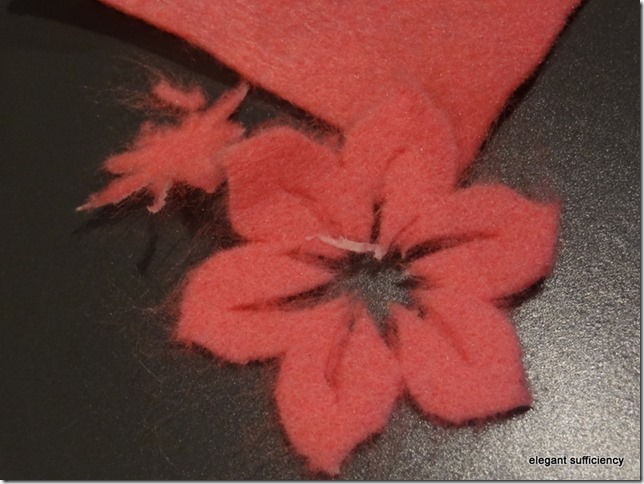
Except it didn’t pop out at all.  Clearly, the felt I’d used wasn’t anything like as dense as the Bernina sample, and though the fuzzy edges were annoying, the way the central shape disintegrated was simply unacceptable.
 

DSC01567


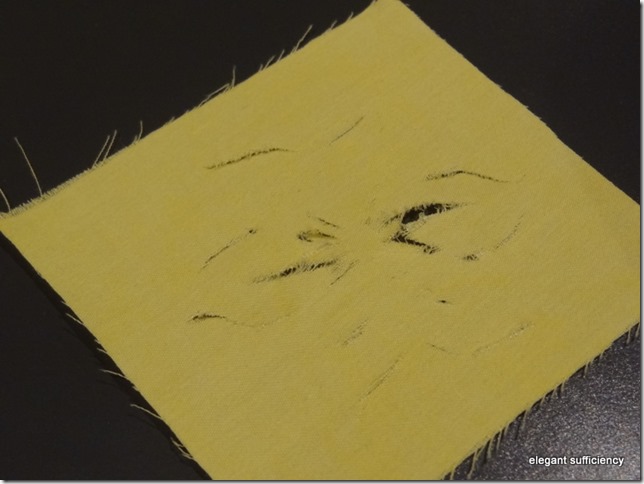
So, I rehooped and tried again with some thin cotton fabric.  Same adhesive stabliser, same shape.  But at the end of the first step, I could see that this wasn’t going to be much better either.  No clean cut edges, sadly.

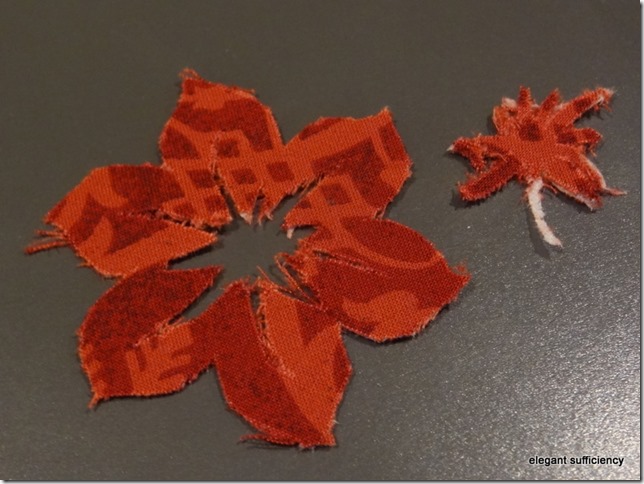
So I did what we all do in such circumstances, I went online and read for tips and tricks using the Bernina Cutwork tool.  Strong stabiliser and lots of starch seemed to be the key.  I took the advice and tried a third time.
 

DSC01569


Better, but still not right.

Clearly, I need to find out more about this before I go any further.  I understand that it’s possible to cut up to ten layers of fabric at once with this method, that sometimes, the shape is stitched around before cutting, perhaps to hold the fabric in place and prevent some of those raggy edges?

Guess what homework I’ll be doing this evening?

Wednesday
Jan072015

Before we went home


DSC01548


Our last morning here and there remained a couple of things we’d intended to do.


DSC01550


Quieter than usual shopping streets on this Wednesday morning meant it was a good time to take a look at some of the department stores, not really in search of anything special but, well, the birthday boy was hoping for a new overcoat.  Since we Thomases come “traditionally built”, the German fit suits us well and sure enough, Peek und Cloppenburg had the perfect style.


DSC01551


Whilst we’ve been here, our feet have taken a battering on these hard pavements and cobbled streets too and a couple of days ago I decided to treat mine to a pair of Falke socks.  Expensive, yes.  But though those two-pairs-for-£3 from ASDA might do OK at home, the seamless toes and perfect fit of the Falke socks don’t rub or pinch in quite the same way and I decided my feet are worth it!  One family collection of “best socks” later, we were nearly done.


DSC01556


Fortunately, I remembered just in time that I’m tea girl at my WI meeting tomorrow and would surely not have time to bake any biscuits.  Instead, my WI friends will have the chance to try some Echte Braune Kuchen

Someone likes them!


DSC01552


And that was that.  We enjoyed a hearty lunch at the hotel before taking the S bahn to the airport and heading home.  After collecting our luggage, we went our separate ways; the birthday boy went home to Finsbury Park and we headed back along the M4. 

It’s always good to be home!

Tuesday
Jan062015

Everywhere in Bremen


DSC01481


Our first stop in Bremen was the Tourist Information office, to collect a detailed map and seek advice about the must-see places.  Outside the shop was this curious model.


DSC01483


Inside, cute soft toy variations were on sale.


DSC01484


In the window were displays of all kinds of interpretations of what appeared to be the “Bremer Stadtmusikanten” – the Bremen Town Musicians, of which we knew nothing.


DSC01485


Of course, having discovered them, we couldn’t move for seeing yet more variations on the theme.


DSC01497


The souvenir shops had plenty of them.


DSC01498


There were books and bags with what appears to be the city logo on them.  We learned it was from a Grimm’s fairy tale and quickly read the story to satisfy our curiosity.  The book we read was illustrated by our favourite Janosch which was a timely reminder of other birthdays, when we read how beautiful Panama is.


DSC01512


Walking along the river, we enjoyed seeing the theme stretched further, like on the cycle path sign here.


DSC01517


Then in the Schnoor, we smiled at the “Bremen Musicians by night” T shirt, too.


DSC01534


We thought that the people of Bremen could well be fed up of seeing the image all over the place, because really, everywhere we looked it was there.


DSC01535


Or at least, it was referenced.


DSC01489


Of course, we saw the original too!


DSC01541


And one last parting shot in the mural in the railway station on our way back.

Enough!

(Thank you, Bremen)